 The Mission:
To make a cheesecake for my husband for his birthday. Even though his birthday was two weeks ago, I figured he'd still like one! I've only made one cheesecake in the past, but since he's not a fan of raspberry, I decided to go with a tried and true New York style using a recipe that I stole from my sister. Since I had the day off and my husband had to work, I planned to have this delicious dessert prepared for him when he got home as the grand finale to a yummy meal of corned beef with cabbage and potatoes.
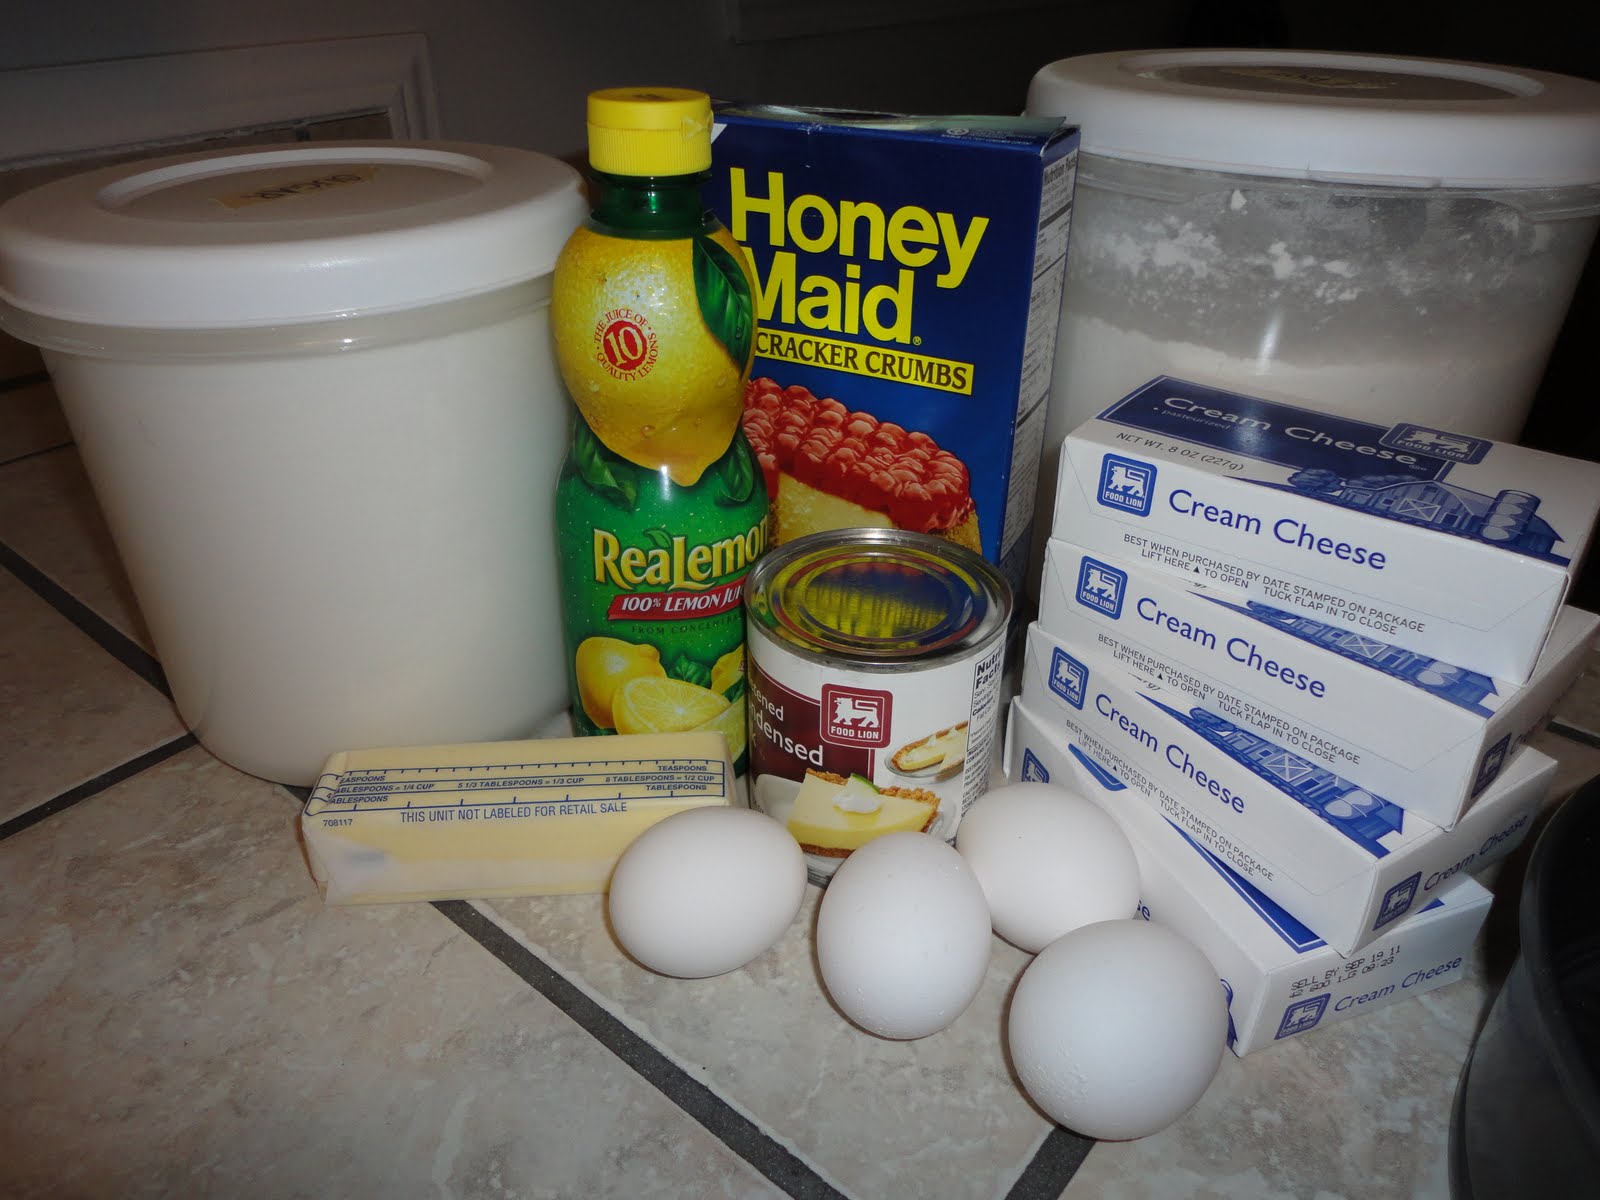
 The Ingredients:
- 1 1/4 cups graham cracker crumbs
- 1/4 cup granulated sugar
- 1/3 cup butter, melted
- 4 (8 oz. each) blocks of cream cheese, softened
- 1 (14 oz.) can sweetened condensed milk
- 4 eggs
- 2 Tbsp flour
- 1/4 cup lemon juice
- In a medium sized mixing bowl combine the graham cracker crumbs and the sugar. Pour in the melted butter and stir with a fork until crumbs are evenly moistened.
- Press the mixture firmly and evenly onto the bottom of a 9" spring form pan.
- In a large mixing bowl, beat the cream cheese until fluffy. Gradually beat in the sweetened condensed milk until mixture is smooth.
- Add in the eggs, flour, and lemon juice, mixing well. Pour cheese mixture into the pan.
- Bake in a preheated 300*F oven for 1 hour and check - the edges should be solid and the center of the cake should be jiggly (like pudding) - it will set as it cools. If cake is too jiggly or liquidy, bake longer, checking every 5 minutes or so.
- Cool cake on the counter for an hour and then transfer to the fridge to chill for at least 4 hours. Serve with whatever topping you'd prefer (raspberry sauce, cherry pie filling, etc.) or enjoy plain.

 The Results & Reviews:
YUM! It turned out fantastic. My husband was very, very happy with his birthday cake - he's very reluctant to share, so I'm not sure I'll get any other reviews..... though I'm pretty proud of myself that it turned out so well on the first try. I used a dark non-stick spring form pan, which made my cake bake a little quicker than usual, so I adjusted this recipe to bake for 1 hour instead of the extra ten minutes my sister's recipe had listed. The flavor, density, and creaminess of this cheesecake are an excellently rich combination. I'd recommend not taking too big a piece, since a little goes a long way with this delicious dessert.


