Wednesday, July 28, 2010

Improved Chicken Pot Pie

The Mission:
To flavor up the original Chicken Pot Pie recipe so it wasn't so bland. Since it's an easy dish to throw together, I wanted to have another "in a hurry" meal to add to my menu regime, but was disappointed with my first batch. Adding spices and cheese really flavored up the pie and made it into a dish worth making more often.


The Ingredients:
  • 3 chicken breasts - cubed
  • canola or olive oil
  • salt - to taste
  • pepper - to taste
  • paprika - to taste
  • 2 cans cream of chicken soup
  • 1/2 cup (or so) milk
  • 2 (or more) cups frozen mixed veggies
  • 1/2 cup (or so) shredded cheese

For the crust:

  • 2 cups Bisquick
  • 2 eggs
  • 1 cup milk
  • The Instructions:
  • Preheat oven to 350*F. In a large skillet, heat the oil and toss in the chicken and as much salt, pepper, and paprika as you want. Cook and stir until chicken is no longer pink. As the chicken browns, mix the two cans of soup, 1/2 cup of milk, frozen veggies and cheese together in a 9 x 13 inch baking pan. (You can add more salt and pepper to the mix if you'd like). Stir in the cooked chicken and spread mixture evenly in the pan. In a medium bowl whisk together the Bisquick, eggs, and 1 cup of milk. Pour onto chicken mixture and smooth with a spatula so the mixture is covered. Bake uncovered for 30-45 minutes and serve hot. *If your "pie" is very full, you might want to place a cookie sheet under the baking dish to catch any drips that might occur when chicken mixture bubbles over.

The Results:

Much, much better! This pot pie had a lot of flavor and was definitely not bland. I was very pleased with how it turned out and my husband practically licked his plate clean - haha. Adding the cheese and the spices really perked up the flavor but didn't take away from the simplicity and ease of this comfort-food recipe.

The Reviews:

This was definitely a hit with my husband! I'm sure he'll be requesting this recipe a lot in the future - especially once the weather turns colder. It also has the added benefit of freezing quite nicely - which is why I make such a huge pan for the two of us. By the time he has seconds for dinner, and scoops a big serving into his lunch container I still have at least 2 servings to freeze for later.

Saturday, July 10, 2010

Hamburger Patties

The Mission:
To make hamburger patties. I realize this sounds ridiculously simple and that most people have done this before. But the truth is that I have never made them. My parents always bought pre-made patties, and for the most part I have too. If handmade patties were ever served at my house, it was because someone else made them. So, since the grocery store didn't seem to have good pre-made patties, I bought some ground beef and made my own :)

The Ingredients:
  • 3 lbs ground beef
  • 6 tsp A-1 Steak Sauce
  • 6 tsp Worcestershire Sauce
  • 1 1/2 tsp garlic powder
  • 1 1/2 tsp onion powder
  • 1 1/2 tsp ground pepper
  • 1 1/2 tsp salt
  • 2 tsp parsley flakes
The Instructions:
With clean hands, thoroughly mix all of the ingredients in a large mixing bowl. Shape meat mixture into equally sized patties. I made 12. Next time, I will make 8 bigger ones so they won't be so small after shrinking.


The Results:

Besides the fact that the patties shrunk up more that I would've liked, the hamburgers turned out great. The flavor was fantastic, and they were grilled to perfection. Obviously my husband's grilling skills have improved quite a bit over the years.... though he does need to work on his powers of recommendation when it comes to patty size. I was sure they were too small, but he assured me that they would be fine. Oh well. They were definitely edible!

The Reviews:
Everyone at the small dinner party thought they tasted great. There weren't any serious complaints about the size, though it did make for some funny jokes. All in all, I got quite a few compliments on the flavor of the patties, so I'm pretty proud of how they turned out :) with clean hands, thoroughly mix all ingredients in a large mixing bowl. Shape meat into equally sized patties - I made 12. Grill, broil, whatever until hamburgers are done to your liking. My wonderful husband grilled them for me ;)

Saturday, July 3, 2010

Chocolate No Bake Cookies

The Mission:

Make the chocolate no bake cookies that my husband has been requesting. I checked out numerous recipe websites and this seems to be the classic recipe. I didn't bother hunting through my cookbooks for this one since I was in a hurry :)


The Ingredients:
  • 1/2 cup butter
  • 2 cups sugar
  • 1/2 cup milk
  • 4 Tbsp cocoa powder
  • 1/2 cup peanut butter
  • 2 tsp vanilla extract
  • 3 cups quick cooking oats

The Instructions:
In a 4 quart pot combine butter, sugar, milk, and cocoa powder. Bring to a rolling boil and boil for one minute. Remove from heat and stir in the peanut butter and vanilla until smooth. Add the oats. Drop by rounded tablespoon onto wax paper lined cookie sheets. Cool until set.


The Results:
I think they turned out great. Though I probably should have made a double batch.... I doubt these will last long at my house. I really hope that I can refrain from eating all of them until my husband gets home on Monday.... Wish me luck :)

The Reviews:

coming soon!

Meaty Hot Dog Chili

The Mission:

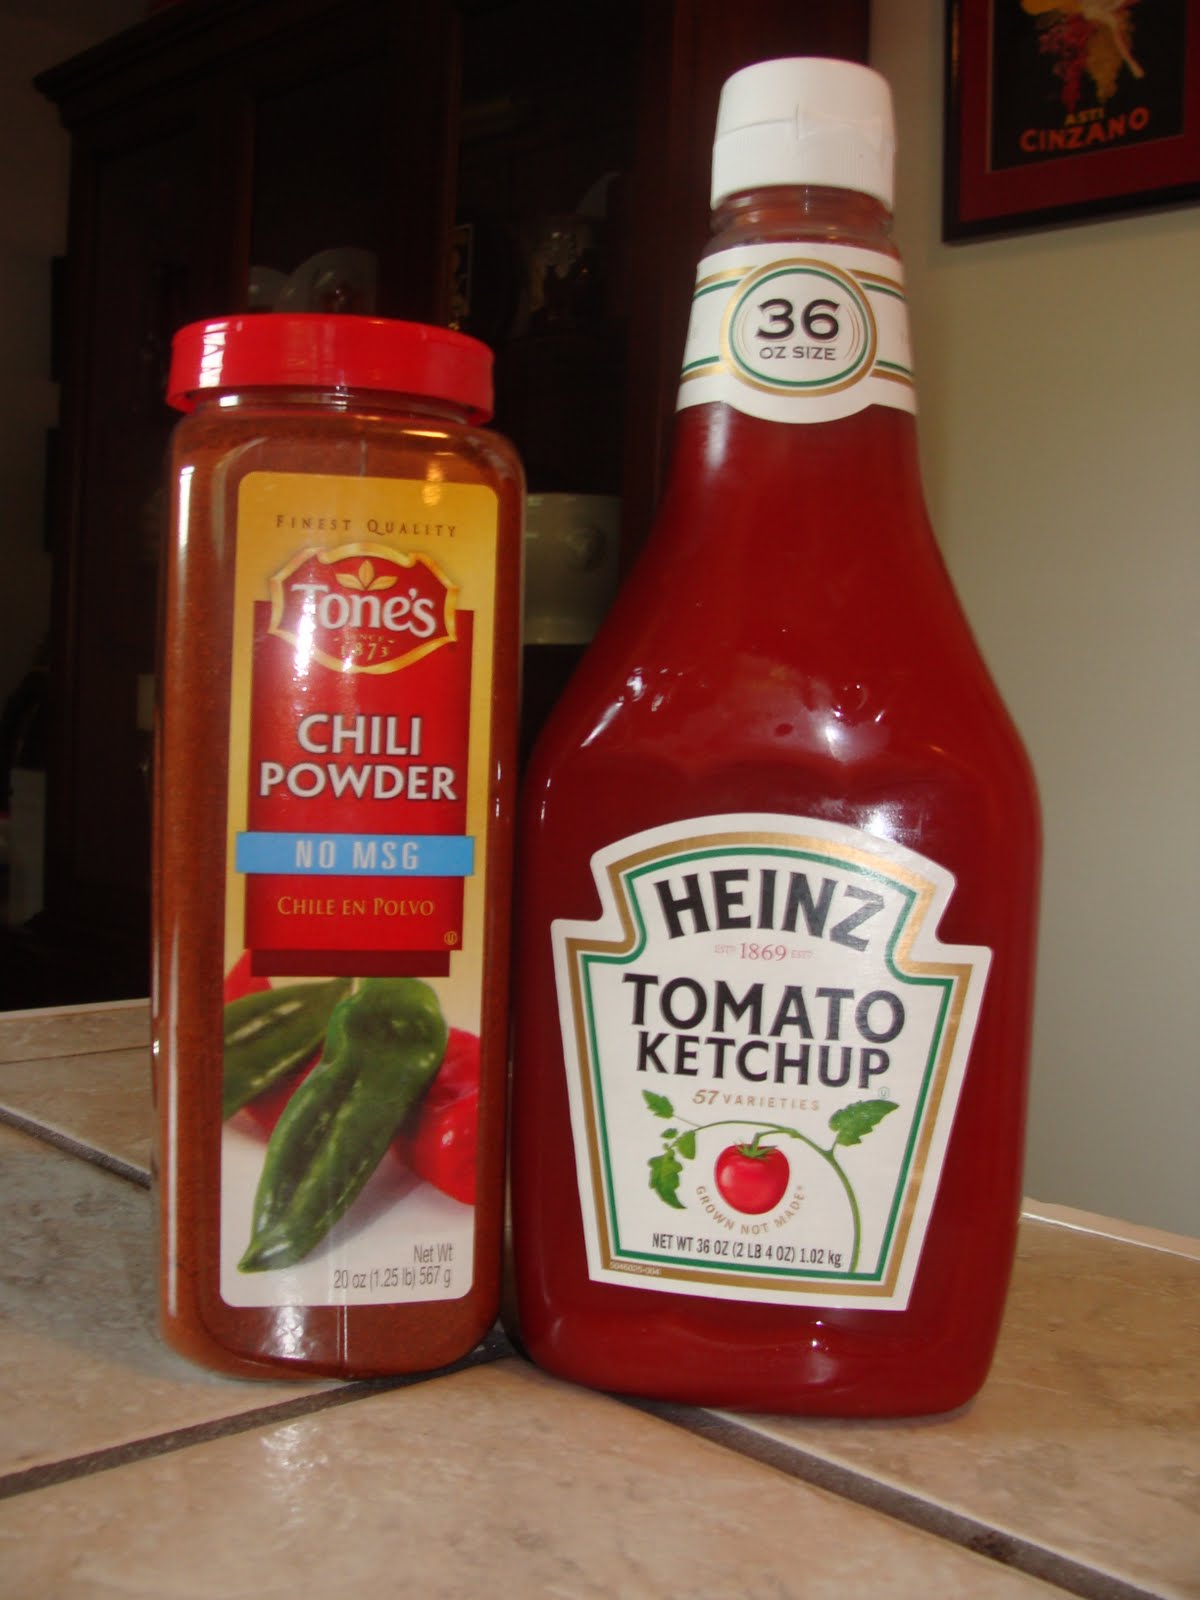
Get out of my blog-less slump by blogging something easy and spur of the moment..... Hot Dog Chili it is! I learned how to make this simple and simply delicious chili from my husband, who learned it from his father. It's easy. It's yummy. It's popular. And it only takes three - yes (3) three! - ingredients.

The Ingredients:
  • Ground Beef - 1 lb
  • Ketchup - start with 3/4 cup
  • Chili Powder - start with 3 Tbsps


The Instructions:


Brown the ground beef. Drain off the fatty grease. Stir in the ketchup - remember that it tastes best if it's Heinz ;). Stir in the Chili Powder. Let simmer for five minutes or so and then taste it. Add more ketchup or chili powder if needed. Repeat until you decide it tastes perfect. Then serve it with hotdogs, burgers, chips, or by itself on a bun - kinda like a sloppy joe ;)

The Results & The Reviews:

I think it turned out yummy as always. I like it best with all of the grease drained off. My husband would prefer some grease left on. But I'm cooking it, so I win. Honestly, most of our friends like it best when it's not drowning in fatty grease, so I figure I win all around :) I've been making this for years for various cookouts, barbecues, and random Wednesday night dinners and it's always gotten good reviews.

Wednesday, March 3, 2010

Lemon Glaze & Lemon Pound Cake

The Mission:
To make yet another dessert for my best friend's birthday party. He requested "chocolate" or "lemon" so here's part two! And again, instead of making a simple boxed cake, I tried something different :) I altered my Cream Cheese Pound Cake recipe by adding the zest of one lemon and leaving out the vanilla extract. Here's the original recipe: Cream Cheese Pound Cake.

The Ingredients:
  • 1 1/2 cups butter, softened
  • 1 (8 oz) package of cream cheese, softened
  • 3 cups sugar
  • 6 eggs
  • 3 cups flour, sifted
  • zest of one lemon
The Icing:
  • 2 cups confectioners sugar, sifted
  • 4 Tbsp butter, melted
  • 4 Tbsp lemon juice (I used the juice from the lemon I zested and had the perfect amount!
  • Mix all of the ingredients together until blended and pour over cooled cake.
The Instructions:
Preheat oven to 300*F. Cream the butter, cream cheese, and sugar together. Add eggs one at a time, beating well between each egg. Don't forget to scrape the sides of the mixing bowl. Add in the lemon zest and then slowly add the flour. I like to add one cup at a time, mixing thoroughly and scraping the bowl between each cup. Spoon the batter into a tube or bundt pan (it will be thick). Bake for approximately 1.5 hours. I usually set the timer for 1 hr 15 minutes and then test the cake for doneness. Cake is done when an inserted knife comes out clean.

The Result:
The icing ran way more than I thought it would. I'm not sure why. Perhaps I needed to thicken it up a bit by adding some more sugar. Who knows. Certainly not I. But the flavor was divine and complemented the cake very well. I think that the cake could use a tad more lemon flavor, so next time I might add a tsp of lemon extract in addition to the zest.

The Reviews:
Mark loved it! Which was the whole point of this recipe :) Everyone else thought it was really good. The rest of my dinner guests had very nice things to say about it, as did the recipients of my leftovers (namely coworkers and my parents). This twist on my pound cake is definitely a keeper :)

Somehow the pictures ended up being deleted. I shall blame the dog.

Tuesday, March 2, 2010

Dark Chocolate Cupcakes (with Chocolate Buttercream Icing)

The Mission:
  • To make something chocolatey to bring to my best friend's birthday party. And instead of baking a cake, I figured I'd do something different and make cupcakes. And since box cupcakes are easy and boring, I figured I'd try out a new recipe. I chose this recipe from my America's Test Kitchen: Family Cookbook. I fell back on my favorite website - recipezaar.com - for the icing.


The Ingredients:

  • 2 sticks butter
  • 4 oz. bittersweet chocolate, chopped
  • 1 cup cocoa powder
  • 1 1/2 cups flour
  • 1 1/2 tsp baking powder
  • 1 tsp baking soda
  • 1 tsp salt
  • 4 large eggs
  • 2 tsp vanilla extract
  • 1 1/2 cups sugar
  • 1 cup sour cream
    The Instructions:
  • Microwave the butter, chocolate, and cocoa powder together, whisking often, until melted and smooth (took me about 4 minutes). Set aside to cool. Combine the flour, baking soda, baking powder, and salt together in a small bowl and set aside. In a large bowl, wisk the eggs and vanilla together, slowly whisk in the sugar until combined. Stir in the cooled chocolate mixture. Sift in half of the flour mixture, stir in the sour cream, and sift in the remaining flour mixture. Line two muffin pans with cupcake liners and fill about two-thirds full. Bake in a 350* preheated oven for 18 minutes or until done. Let cupcakes cool and ice as desired.


The Icing:

  • 1/2 cup butter - softened
  • 2 2/3 cup confectioner's sugar, sifted
  • 1/3 cup half and half cream
  • 1 1/2 tsp vanilla extract
  • 1/2 cup unsweetened cocoa powder, sifted

Cream the butter in a small bowl. Blend in the cocoa powder, vanilla, and the confectioners sugar alternately with the cream. Beat with an electric mixer until the desired consistency. If needed, add a more cream. Click here for the Recipezaar link!


The Results:

Well - I thought they turned out good. Though I have to admit, it was waaaaaay too much work for something that wasn't just absolutely fantastic. So I probably won't make these again. The idea of a dark chocolate cupcake went over very well, though.


The Reviews:

I had my husband test them out before I took them to the party. He said that they were too bitter. Obviously he doesn't really care too much for dark chocolate. He made sure to tell me that it was a personal preference and that he wasn't implying that my cupcakes were awful. He said they were "hoity toity." hahaha. I got a big laugh out of that :) Everyone else who tried one liked them..... one person said they were very rich. Dad gave me his honest opinion and told me they were slightly on the dry side, but that he and Mom enjoyed them regardless. So this recipe isn't a winner, but it wasn't a total loss either.

Saturday, February 20, 2010

Gingerbread Pumpkin Trifle

The Mission:
To make a smashingly fantastic dessert to take to Mark's parents house since they had graciously invited us over for Thanksgiving lunch. I wanted to make something a little bit fancier than a traditional pumpkin pie (though I love pumpkin pie dearly!), so when I came across this recipe listed in the Taste of Home Thanksgiving 2009 booklet, I knew it would be perfect.


The Ingredients:
  • 1/2 cup shortening
  • 1/3 cup sugar
  • 1 cup molasses
  • 1 egg
  • 2-1/3 cups all-purpose flour
  • 1 teaspoon baking soda
  • 1 teaspoon ground ginger
  • 1 teaspoon ground cinnamon
  • 3/4 teaspoon salt
  • 3/4 cup hot water
Filling/Topping:
  • 2 cups cold milk
  • 1 package (3.4 ounces) instant vanilla pudding mix
  • 1 can (15 ounces) solid-pack pumpkin
  • 1/2 cup packed brown sugar
  • 1 teaspoon vanilla extract
  • 1/2 teaspoon ground cinnamon
  • 2 cups heavy whipping cream
  • 1/3 cup sugar
  • 1 teaspoon rum extract

The Instructions:
In a large bowl, cream shortening and sugar until light and fluffy. Beat in molasses and egg. Combine the flour, baking soda, ginger, cinnamon and salt; add to creamed mixture alternately with water, beating well after each addition. Pour into a greased 13-in. x 9-in. baking pan. Bake at 350° for 25-30 minutes or until a toothpick inserted near the center comes out clean. Cool on a wire rack. Cut gingerbread into 1/2-in. to 1-in. cubes; set aside. In a large bowl, whisk milk and pudding mix for 2 minutes. Let stand for 2 minutes or until soft-set. Combine the pumpkin, brown sugar, vanilla and cinnamon; stir into pudding. In another bowl, beat cream until it begins to thicken. Add sugar and extract; beat until stiff peaks form. Set aside 1/4 cup gingerbread cubes. In a 4-qt. trifle bowl or glass serving bowl, layer a third of the remaining gingerbread cubes; top with a third of the pumpkin mixture and whipped cream. Repeat layers twice. Crumble reserved gingerbread; sprinkle over top. Cover and refrigerate for at least 1 hour before serving.

The Result:
Oh wow! It was fantastic. I loved it.... though I think that I might use a little less rum extract in the whipping cream next time. Though everyone else thought it was delicious just the way it was. It turned out really pretty, too. Which is always a plus when I'm taking a dessert somewhere for a special occasion.

The Reviews:
This dessert got RAVE reviews. Everyone who tried it told me how amazing it was. I am so pleased with myself :) It was definitely worth the effort to make all of this from scratch. This will be a dessert I make every year for sure!